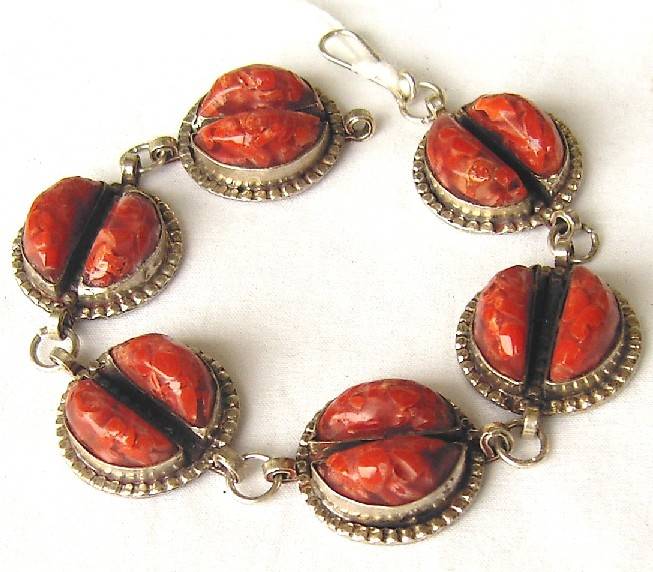
 Let`s make a Thick Traditional Bracelet step by step. If you have the right tools and the right material, you can follow the step-by-step instructions below to make a bracelet.
STEP 01: Preparing the materials to be used (raw material) which are:
- A flat Silver roll of 5 cm wide and 1 mm thick used as the main bone of Jewellery (as shown in STEP 03).
- We also have a round thread of about 0.5 mm of diameter to usually use for making all different patterns and decorations (heart, geometrical shapes, personified forms, etc) to weld on the working plate (STEP 03).
- A flattened thread that basically has the same role as the round thread.
STEP 02: Cut a plate of the flat roll to a desired form; in our case to a rectangular plate.
STEP 03: Weld on all edges of the plate the round threads and the flat threads called “Assarou” as decoration with the help of very fine and tiny Silver plates (Material to weld). Temper in a liquid called COLOBORE (a liquid that favours and circulates soldering on the plate).
STEP 04: Take the flat roll of silver and cut up circular plates (round) to desired diameters with the help of a round sharp tool and a hammer, on a leaden support.
STEP 05: Take the round plate cut up from the previous STEP (04), to put it in a bottom of mould in form of half hollow sphere (of desired diameter); then with a hammer and a tool with a round tip, we make half sphere forms half sphere of (half hollow balls), which will then be used for decoration.
STEP 06: lay different patterns (Silver balls, Coral cage and the different formed shapes) on the serrated plate on STEP 02.
STEP 07: After laying and welding everything down on the plate, now the Jewel has semi-finished form. Please to the pictures for more details.
STEP 08: Bend (round up) the decorated plate with a steel cylinder and hands only.
STEP 09: Prepare (shape up) pieces of coral (natural stone), which will be put down into coral cages with a working file, by making different desired shapes of the coral (round, square, triangular, droplet shapes, etc ).
STEP 10: After soaking the jewel (semi finished) in some acidulous water 32° baumé three times in a row with drying with blowpipe after every tempering. The natural stone (coral) is then put down into coral cages.
To learn more about Degrees Baumé, please read immediately below:
|
Baumé. (, be°Bé, °B) Baumé scale; degrees Baumé; Baume; Baumé scale.
|
||||
|
A, Be scale related to specific gravities, devised by the French chemist Antoine Baumé for marking hydrometers. At 60°F, specific gravity can be calculated from degrees Baumé by the following formulas:
|
||||
Alternatively, for more information visit:
http://antoine.frostburg.edu/chem/senese/101/measurement/faq/baume-scale.shtml |
STEP 11: Colouring the jewel with a feather-Pen and enamel (that can be found in different colours, mainly Blue, Green and Yellow), then a blow of blowpipe to fix the enamel and shine (enamelling).
- To give the Antique and dark look for the Jewel, we plunge it into a liquid called oxide (We can even plunge into some chloride bleach, same look is resulted).
- Wash the jewel (finished Jewel) with water and soap and clean with the help of a brush.
STEP 12: The Jewel is now ready to be worn or commercialised.
NOTE: There is no powered (Fuelled, electrical or solar ) machine or tool used in the process, the jewellery are 100% handmade, that is the reason we use a purer Silver 950, which provides better flexibility for cutting, bending and welding. The blowpipe is the only tool used instead of fire on woods because of safety reasons in the workshop and speeding up the production time to respond to the high demand.
